- How To Use
- Common user errors
- Mixed version worlds
- Coastlines
- Known limitations
- Requirements
- Seed
- Browser
- Usage
- Seed Selection
- Dimension and Feature Selection
- Navigation
- Selecting structure locations
- Touchscreen
- Credits
- Comments
- Карта исследователя лесов
- Как сделать карту исследователя лесов
- Где купить карту исследователя лесов
- Скриншоты карты исследователя лесов
- Команда получения карты исследователя лесов
- Карта исследователя лесов
- Как сделать карту исследователя лесов
- Что даёт карта исследователя лесов
- Как получить карту исследователя леса в Minecraft
- Карта исследователя леса в Minecraft: все, что вам нужно знать
- Получите карту исследователя леса
How To Use
If none of the below helps, please report in the comments and include your seed, platform and version, and coordinates.
Common user errors
If your in-game world doesn’t match the map here at all, it’s most likely due to one of the following:
- you entered the wrong seed or coordinates
- you selected the wrong edition or version (the one used to generate the region you look at)
- you used mods or resource packs that affect world generation
- (for slime chunks) you didn’t wait long enough, since they have a very low spawn rate even in slime chunks
Mixed version worlds
If you started your world on an older version, you’ll have to switch between the versions in the app. Always select the version that was used to generate the chunks you’re looking at.
Coastlines
The coastlines for versions 1.18 and above don’t match up perfectly. This is not a bug, but because the map shows the underlying biomes instead of the exact terrain. Near coasts, ocean and river biomes often have land, while land biomes can be underwater.
Known limitations
Locations that don’t exist in-game
Many features are not 100% accurate, i.e., locations can be wrong or missing. These include:
- Dungeons
- End City Ships, and End Cities in general on Bedrock Edition
- World Spawn Positions
- Amethyst Geodes (near caves, mineshafts, etc.)
- Desert & Jungle Temples on Java Edition 1.18+
Various other structures such as villages and igloos can sometimes fail to generate in-game as well, but this should happen far less frequently than for the features mentioned above.
Incccurate x/z coordinates
For some features like fossils, ruined portals and trail ruins the app currently only points to the center of the chunk they’re generated in. Since those structures are small, often buried, and can be offset 10-20 blocks from the chunk center, you might have to do some searching/digging to find them.
Missing y coordinates
The y coordinate isn’t shown for every feature. For structures that always generate on the surface or seafloor, this shouldn’t be an issue. In other cases, like mineshafts, strongholds and nether fortresses, the structures can easily be found by searching at different heights at the given x/z coordinates.
Unfortunately, this leaves some structures like fossils on Bedrock and ruined portals that spawn underground, which will require some manual effort to find.
Requirements
Seed
For technical reasons, you need to know the seed of your world to use Seed Map, unless, of course, you want to find a seed for a new world. If you’re playing SSP, the app is able to fetch the seed from your savegame. Alternatively, you can use the /seed command ingame. In SMP, you can use the same command if you have sufficient rights. Otherwise, however, you’re dependent on the server owner, who started the world and has access to the savegame and config files.
Browser
This app uses some relatively new web technologies. As a result, some features may be disabled for older browsers. I recommend using the latest version of a major browser such as Chrome, Firefox, Edge or Safari.
Usage
Seed Selection
The first thing you should do is select a seed and version. You can either type it in manually, or you can load it from your savegame. The latter can be done by clicking on «Load from Save. « and selecting your level.dat, or by drag&dropping the level.dat file into your browser window. Level.dat is a small file located in the folder of every Minecraft savegame. You can find the savegames in the saves folder of your Minecraft installation. On Windows you can use %appdata%\.minecraft\saves to get to that folder.
You should also know that a seed is always a number (up to around 20 digits). If you type in anything else (like letters), it will be converted to a number. The app does this the same way Minecraft does, so it’s safe to use letters (and other characters) as well.
Dimension and Feature Selection
Below the seed and version, you can also choose the Minecraft dimension that you want to view (Overworld, Nether or End). This, and the version you use, will affect which features can be enabled. To toggle certain features, click on the icons in the features box just above the map.
You can also expand and collapse features box by clicking the arrow on the right side of the box to show the full names of the features, as well as some more options.
Note that some features will only show if you zoomed in enough. This is to keep the app fast and to not flood it with icons. The app will show a warning and all affected features will be highlighted once that happens.
Navigation
Once you entered all the options you can start using the map. To scroll, use your arrow keys while your mouse cursor points at the map, or move your mouse while holding down the left mouse button. You can use the slider below the map or your mousewheel for zooming. The lower inputs allow you to go to a specific point (e.g., your base) of the map and set a marker there. You can always remove and add the marker by double clicking on the map. The «Save Map» button allows you to save the currently shown map as png image file.
Selecting structure locations
You can click or tap on the icons on the map to see their exact coordinates in the game. For some structures, additional details are shown as well.
Touchscreen
When using a touch-enabled device, an extra option for enabling/disabling touchscreen control will appear below the map. With that option enabled, you can drag the map with your finger to navigate, you can pinch to zoom in and out, and you can tap and hold to set a marker on the map. By double tapping on the map, you can quickly enable/disable the functionality as well.
Credits
- Thanks to amidst contributors for providing biome colors
- Thanks to Earthcomputer for his work on bedrockified, which made it possible to support Bedrock Edition
- Thanks to @protolambda and @jocopa3 for figuring out the slime chunk algorithm for pocket/bedrock edition, and depressed-pho for porting it to JavaScript
Comments
Heads up! We’re currently trying out a new commenting system. Some comments may be lost, and you may have to sign up again.
Copyright © 2013-2023 chunkbase.com All Rights Reserved.
Not an official Minecraft product. Not approved by or associated with Mojang.
Источник
Карта исследователя лесов

Как сделать

Купить

Скриншоты

Команда
Карту исследователя лесов можно купить у Картографа. С ее помощью гораздо проще найти Лесной особняк.
 Как сделать карту исследователя лесов
К сожалению, нет ни одного рецепта, чтобы сделать карту исследователя лесов в Майнкрафт. Но вы можете посмотреть, где можно найти карту исследователя лесов в игре Minecraft.
Нельзя сделать
К сожалению, карту исследователя лесов нельзя сделать в инвентаре или на верстаке в игре Майнкрафт.
Карту исследователя лесов можно купить за изумруды у жителей деревни.
Карту исследователя лесов можно получить, используя команды в креативном режиме.
Где купить карту исследователя лесов
Есть только один житель, у которого можно купить карту исследователя лесов в Майнкрафт. Ниже вы можете найти подробное описание данного жителя, который может продать карту исследователя лесов в игре Minecraft.
Картограф
Скриншоты карты исследователя лесов
На сайте есть несколько скриншотов, на которых есть карта исследователя лесов в Майнкрафт. Ниже вы можете найти данные скриншоты, чтобы посмотреть на карту исследователя лесов в игре Minecraft.
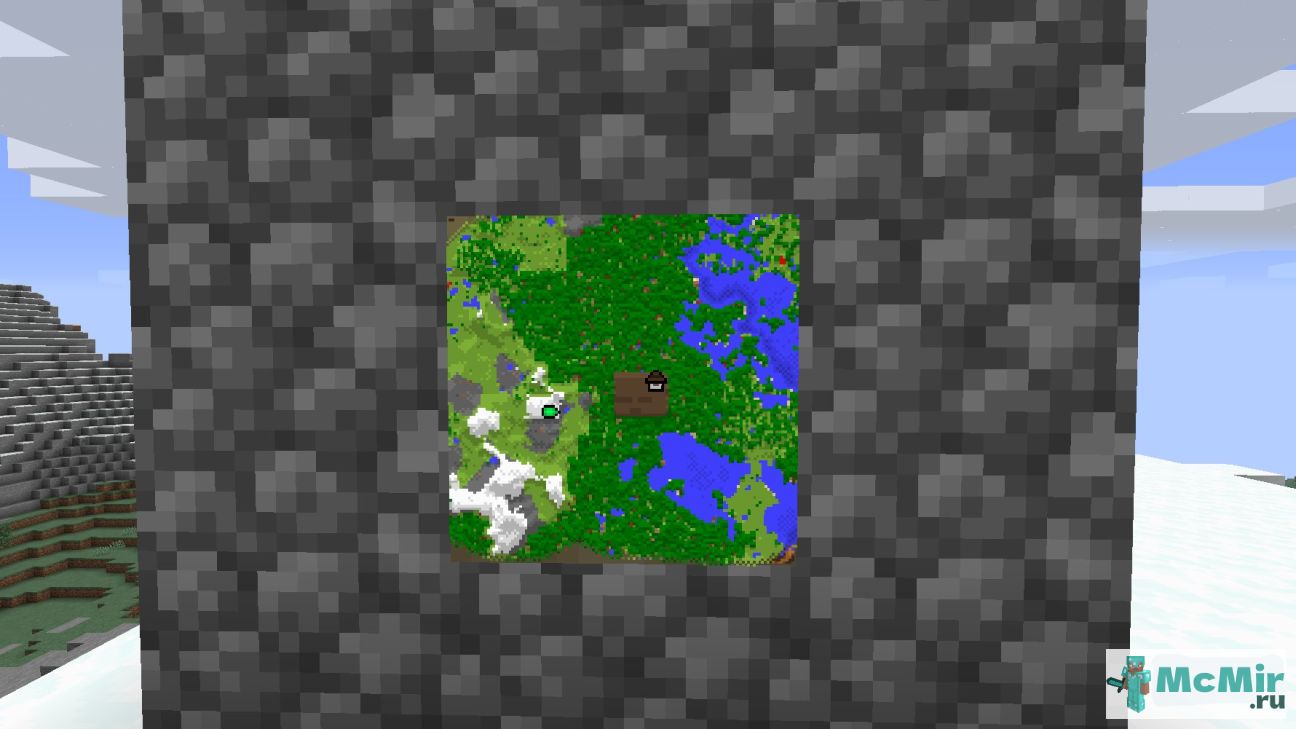
Карта исследователя лесов Как сделать карту исследователя лесов в Майнкрафт | Screenshot 1
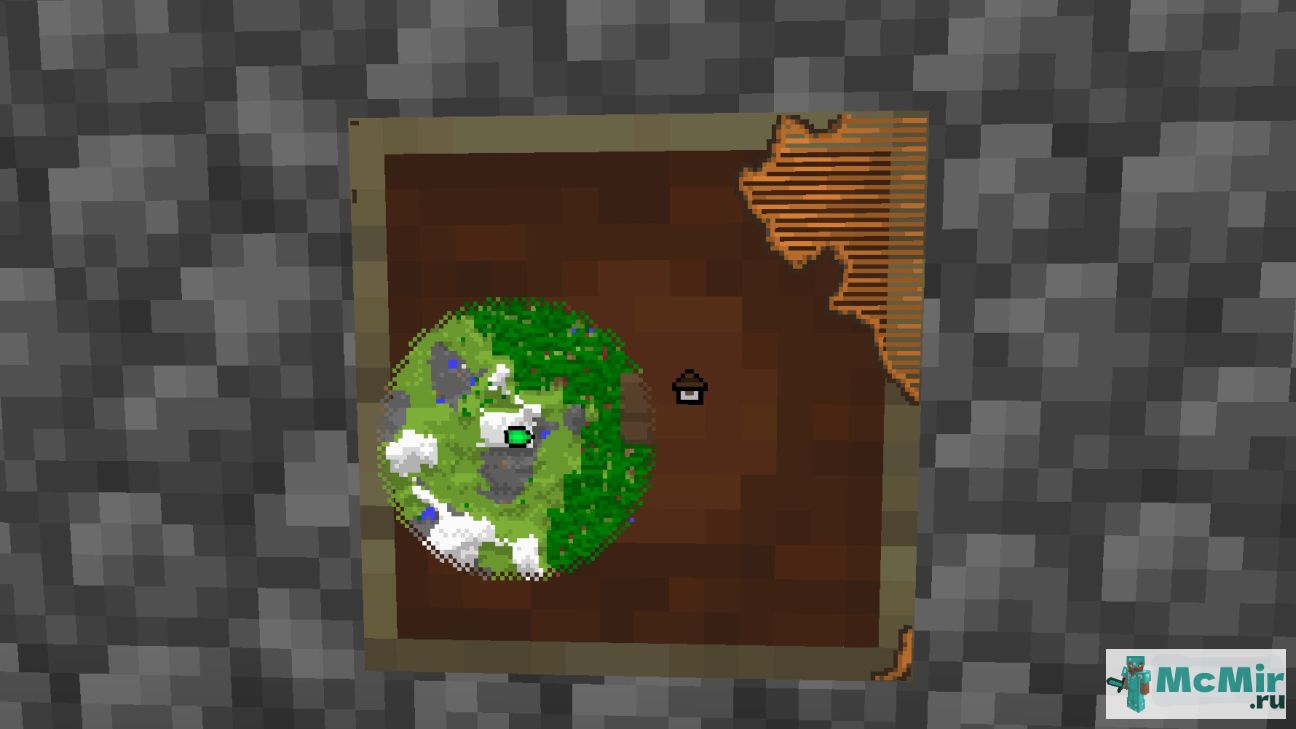
Карта исследователя лесов Как сделать карту исследователя лесов в Майнкрафт | Screenshot 2
Карта исследователя лесов Как сделать карту исследователя лесов в Майнкрафт | Screenshot 3
Команда получения карты исследователя лесов
Есть команда, которая позволяет получить карту исследователя лесов в Майнкрафт. Ниже вы можете посмотреть подробное описание данной команды, чтобы научиться создавать карту исследователя лесов в игре Minecraft.
- открыть чат (клавиша «T» английская)
- написать команду /give @p filled_map:mansion
- нажать клавишу «ENTER» (ВВОД)
Также можно указать количество и кому выдать карта исследователя лесов:
Команду можно прописать в командный блок, чтобы она исполнялась при получении сигнала красного камня.
Источник
Карта исследователя лесов

Как сделать

Что даёт

Купить

Карта исследователя лесов Как сделать карта исследователя лесов в Майнкрафт | Скриншот 1

Карта исследователя лесов Как сделать карта исследователя лесов в Майнкрафт | Скриншот 2

Карта исследователя лесов Как сделать карта исследователя лесов в Майнкрафт | Скриншот 3
Как сделать
Что даёт
Купить
Карту исследователя лесов можно купить у Картографа. С ее помощью гораздо проще найти Лесной особняк.

Как сделать карту исследователя лесов
Здесь указано, как сделать карту исследователя лесов в Майнкрафте. В рецепте крафта указываются необходимые ингредиенты и их расположение в Minecraft.

Нельзя сделать
К сожалению, карту исследователя лесов нельзя сделать в инвентаре или на верстаке в игре Майнкрафт.
Карту исследователя лесов можно купить за изумруды у жителей деревни.
Что даёт карта исследователя лесов
Здесь перечислено, что можно получить из карты исследователя лесов в Майнкрафте, т.е. что даёт Карта исследователя лесов в Minecraft.
Источник
Как получить карту исследователя леса в Minecraft

Гайды
В почти бесконечных мирах Minecraft игроки найдут самые разнообразные строения. Из всех построек лесные особняки, пожалуй, самые редкие постройки в игре. Лесные особняки обычно генерируются на смехотворно далеком расстоянии от точки возрождения.
Игрокам, возможно, придется преодолеть сотни и тысячи кварталов, чтобы мельком увидеть лесной особняк. Чтобы помочь игрокам найти эти строения, Mojang добавила карты для исследователей леса. В этом руководстве рассказывается о карте исследователя леса и о том, как игроки могут получить ее в Minecraft.
Карта исследователя леса в Minecraft: все, что вам нужно знать
В Minecraft некоторые карты исследования показывают расположение конструкции. С картой исследования игроки могут двигаться в направлении структуры, чтобы найти структуру. Карта исследователя леса показывает расположение ближайшего лесного особняка.
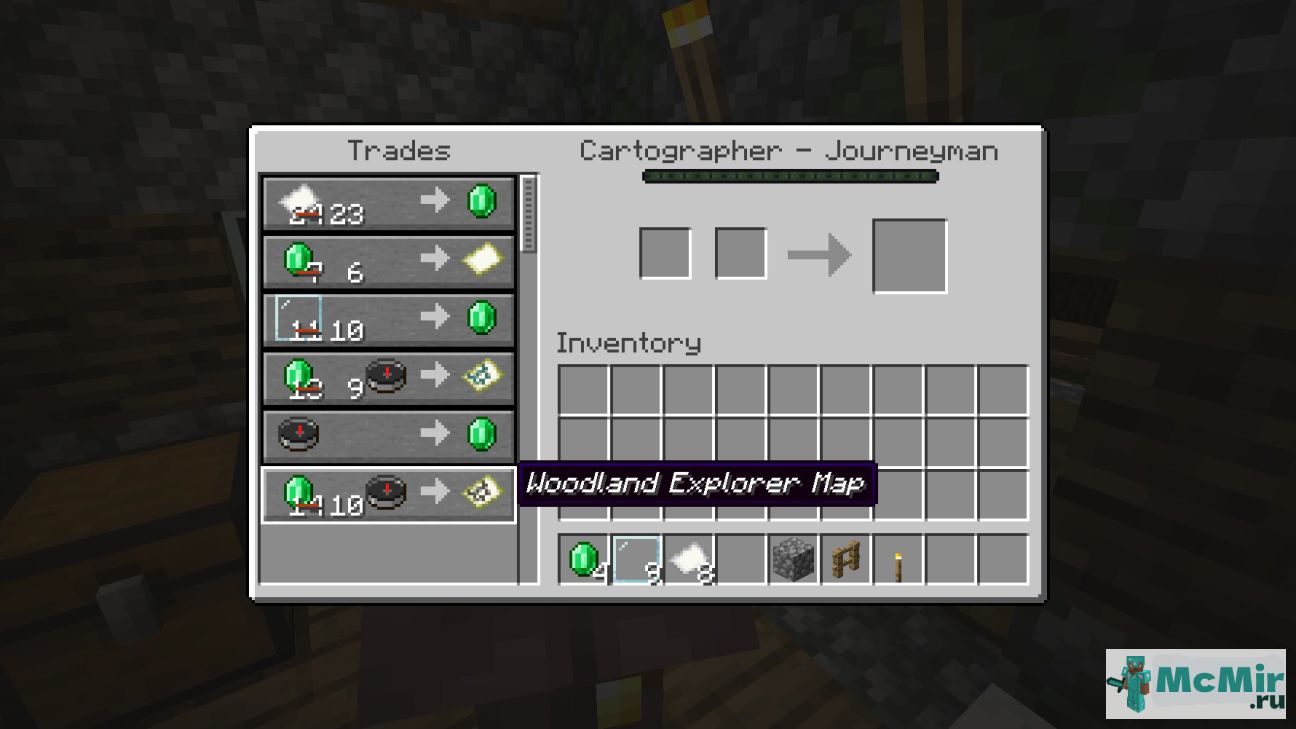
В отличие от карт зарытых сокровищ, карты исследователей леса нельзя найти в сундуках с сокровищами. Есть только один способ получить карту исследователя леса в Minecraft, то есть торговать. Игроки могут покупать карты исследователя леса у картографов, достигших уровня подмастерья в торговле.
Получите карту исследователя леса
Не волнуйтесь, если у вас нет картографа. Любого обычного безработного деревенского жителя можно превратить в картографа, поставив рядом с ним картографический стол. Игроки могут создать картографический стол, используя две бумаги и четыре доски.
Что касается повышения уровня картографа, игроки могут продавать ему дешевые предметы, такие как бумага и стеклянные панели. После того, как картограф станет подмастерьем, он сможет продать карту исследователя леса по цене 14 изумрудов и одного компаса.
Вот и все! Торговля с картографами — единственный способ получить карту исследователя леса в Minecraft. Игроки могут использовать эту карту, чтобы добраться до ближайшего лесного особняка. Кроме того, не тратьте ресурсы на покупку дополнительных карт леса, так как карты исследователя леса, купленные у картографов, точно такие же.
Источник